

Everything You Need to Know for Your First Time Bouldering Outside

Maybe you’ve climbed all the boulders on the current gym set and are itching for something new. Maybe your climbing friends are talking nonstop about their outdoor project, and you have FOMO. Perhaps you live in a big city and only started climbing at the local gym a year ago. Whatever your situation, you are finally gearing up for your first outdoor bouldering extravaganza. Indoor and outdoor bouldering are two versions of the same sport: rock climbing. Yet, trading in plastic for real rock can be daunting. Feeling prepared to venture outdoors requires learning new skills, from navigating your way to the crag to recognizing differences in difficulty and extra gear requirements. Want to ensure you are ready for your first time bouldering outside? Read through the cliff notes below and use the final checklist to ensure you have everything before heading out.
Cliff Notes: First Time Bouldering Outside
1. Picking your climbing crag
It's essential to learn a few new terms for outdoor climbing: crag and approach. A crag is a location with clusters of climbing, and the approach constitutes the hike from the parking lot to the boulder(s). As a first-timer, it's best to pick a popular, well-trafficked location unless you go with friends who've regularly frequented the crag. Boulders are more straightforward to establish than sport routes, and hardcore climbers aren't afraid to bushwack to reach a hidden gem and develop climbs. While choosing popular boulders may mean sharing the wall with other climbers, it also means a more manageable approach. Some may consider getting lost while trying to find the boulders a rite of passage, but it will ultimately shorten your climbing time. Remember, this is all part of the adventure!
2. Befriend Mountain Project and a GuideBook
It’s worth borrowing or investing in a guidebook if one is available for the area. A guidebook will provide the most detailed information for finding the boulder, distinguishing the climbs, and ranking difficulty. The authors are usually climbers who helped establish many of the boulders/routes in the area or who are locals.
Mountain Project is the best resource if a guidebook isn’t available. The website and app let you search from a global selection of crags with user-generated information about access, difficulty, and descriptions. When using Mountain Projects, download or screenshot any relevant information for offline access, as you may not have cell phone reception at the boulders.

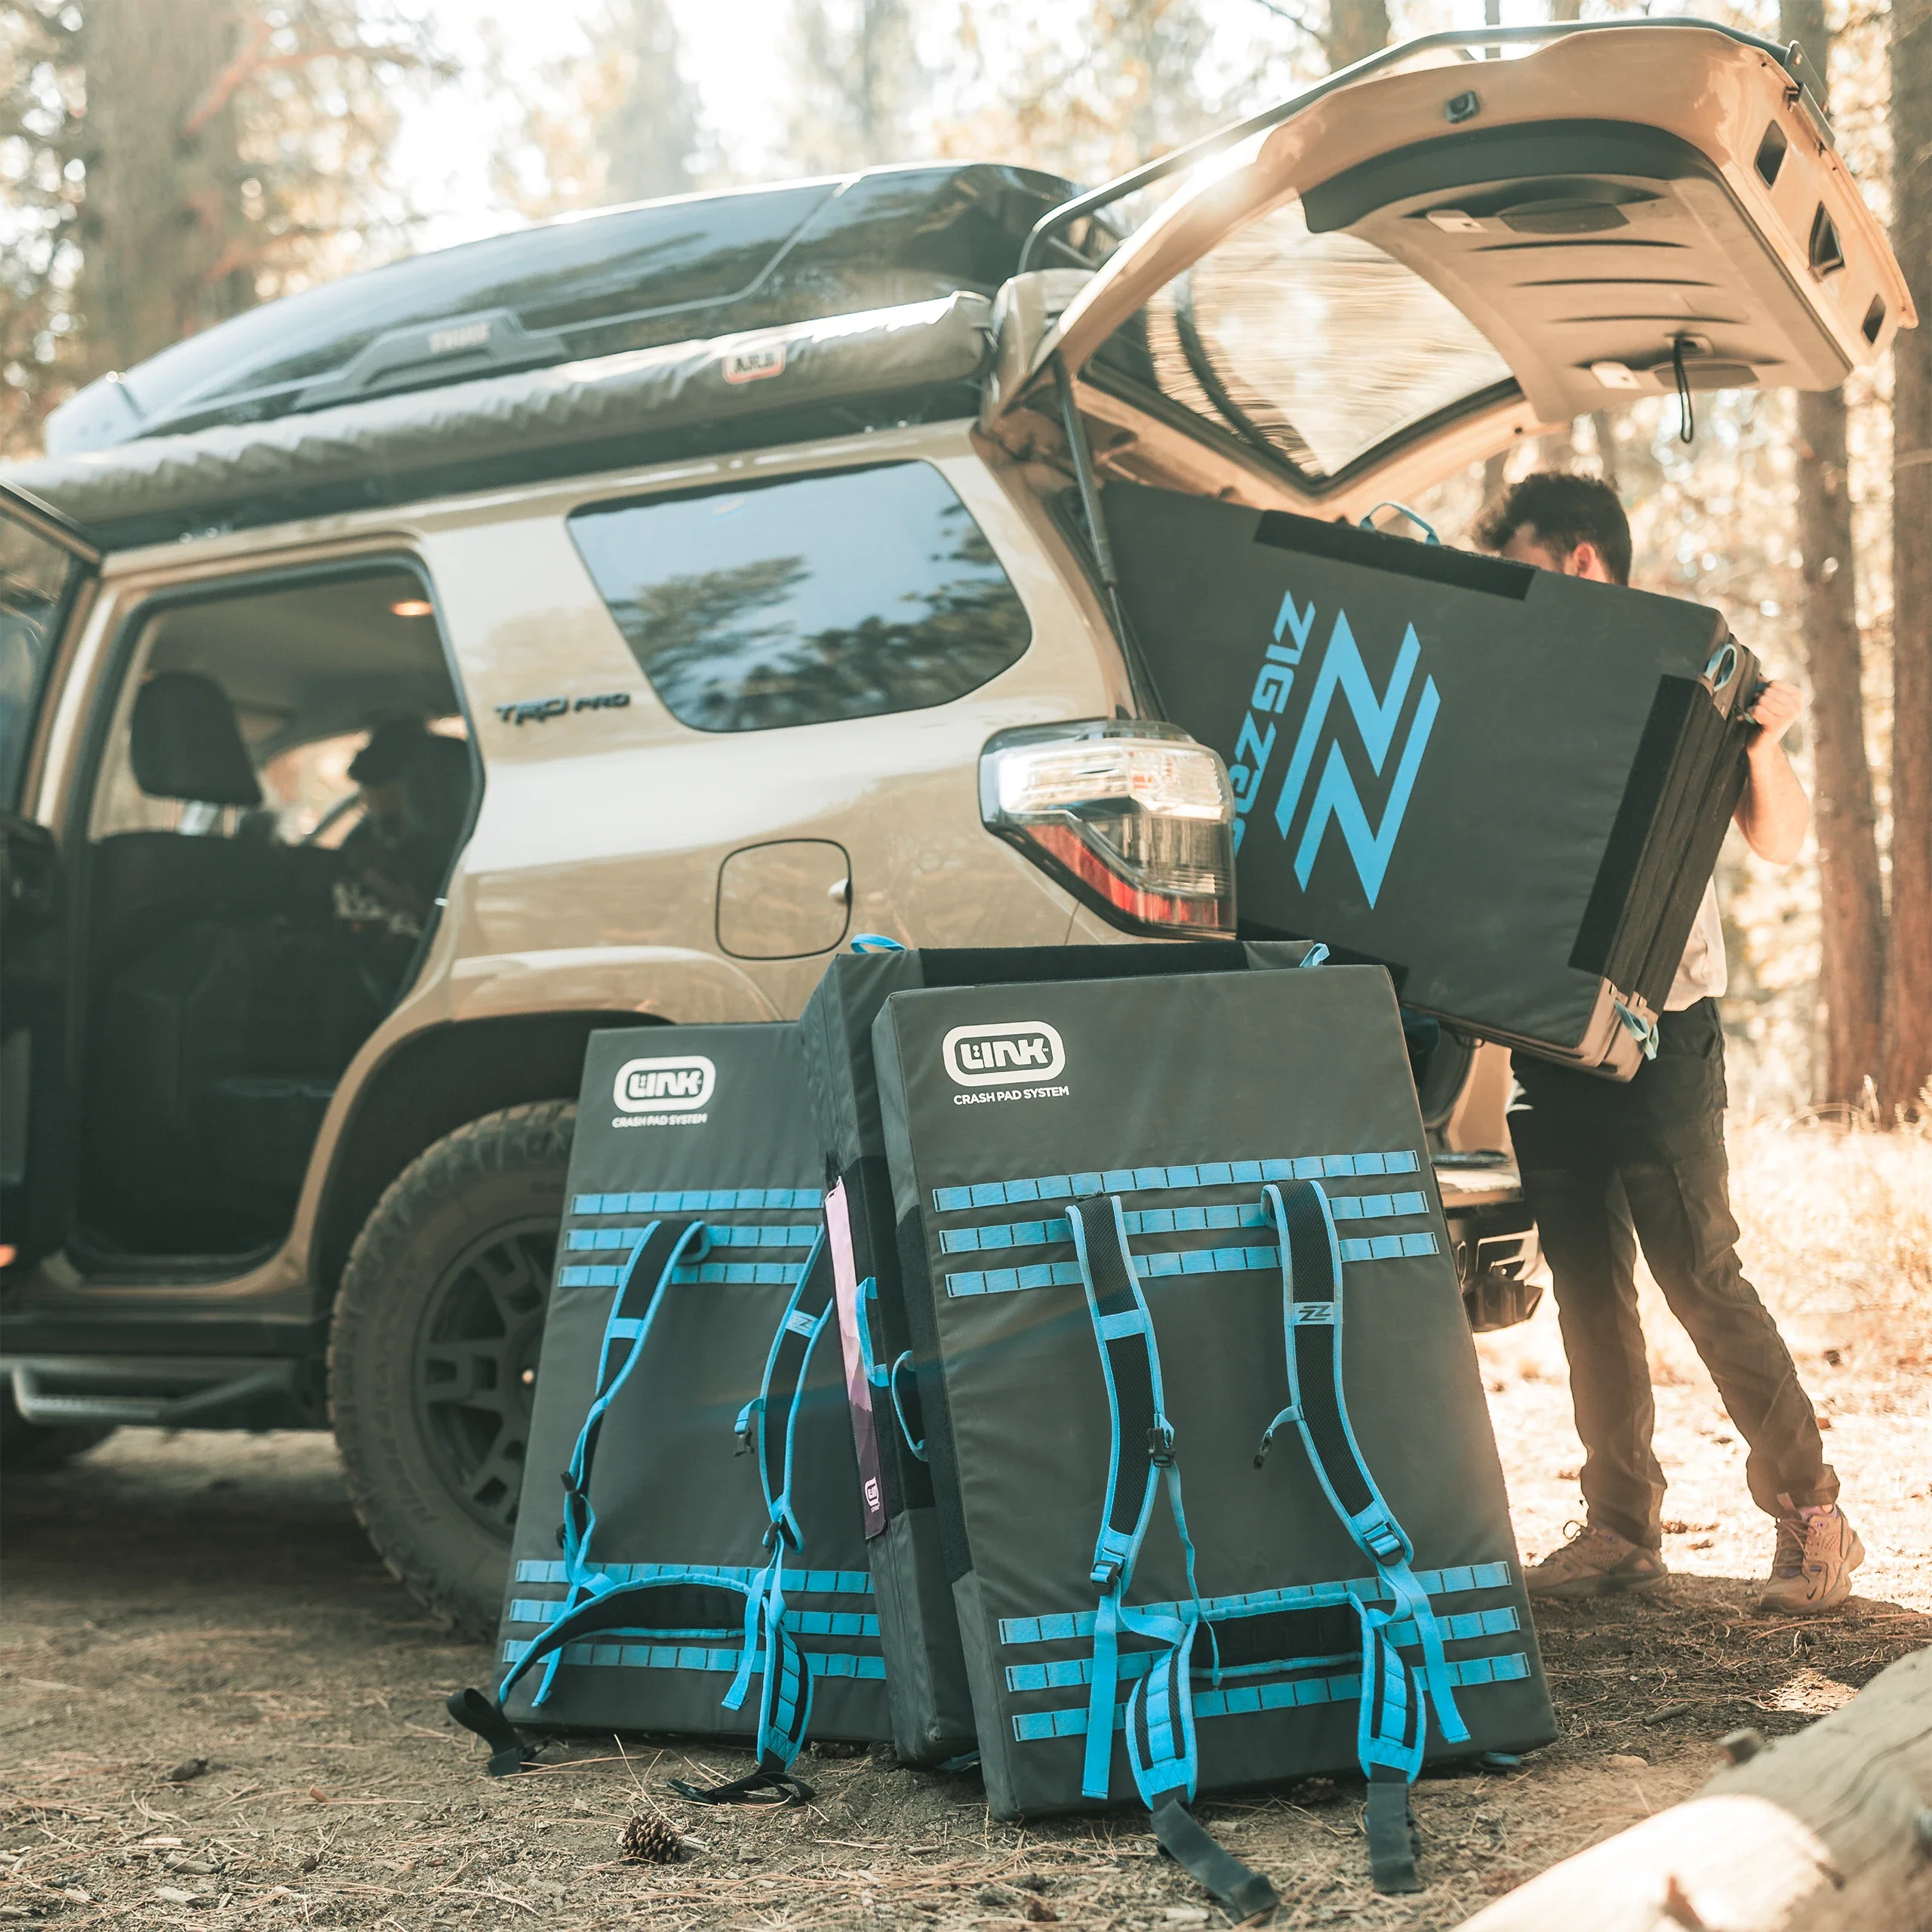
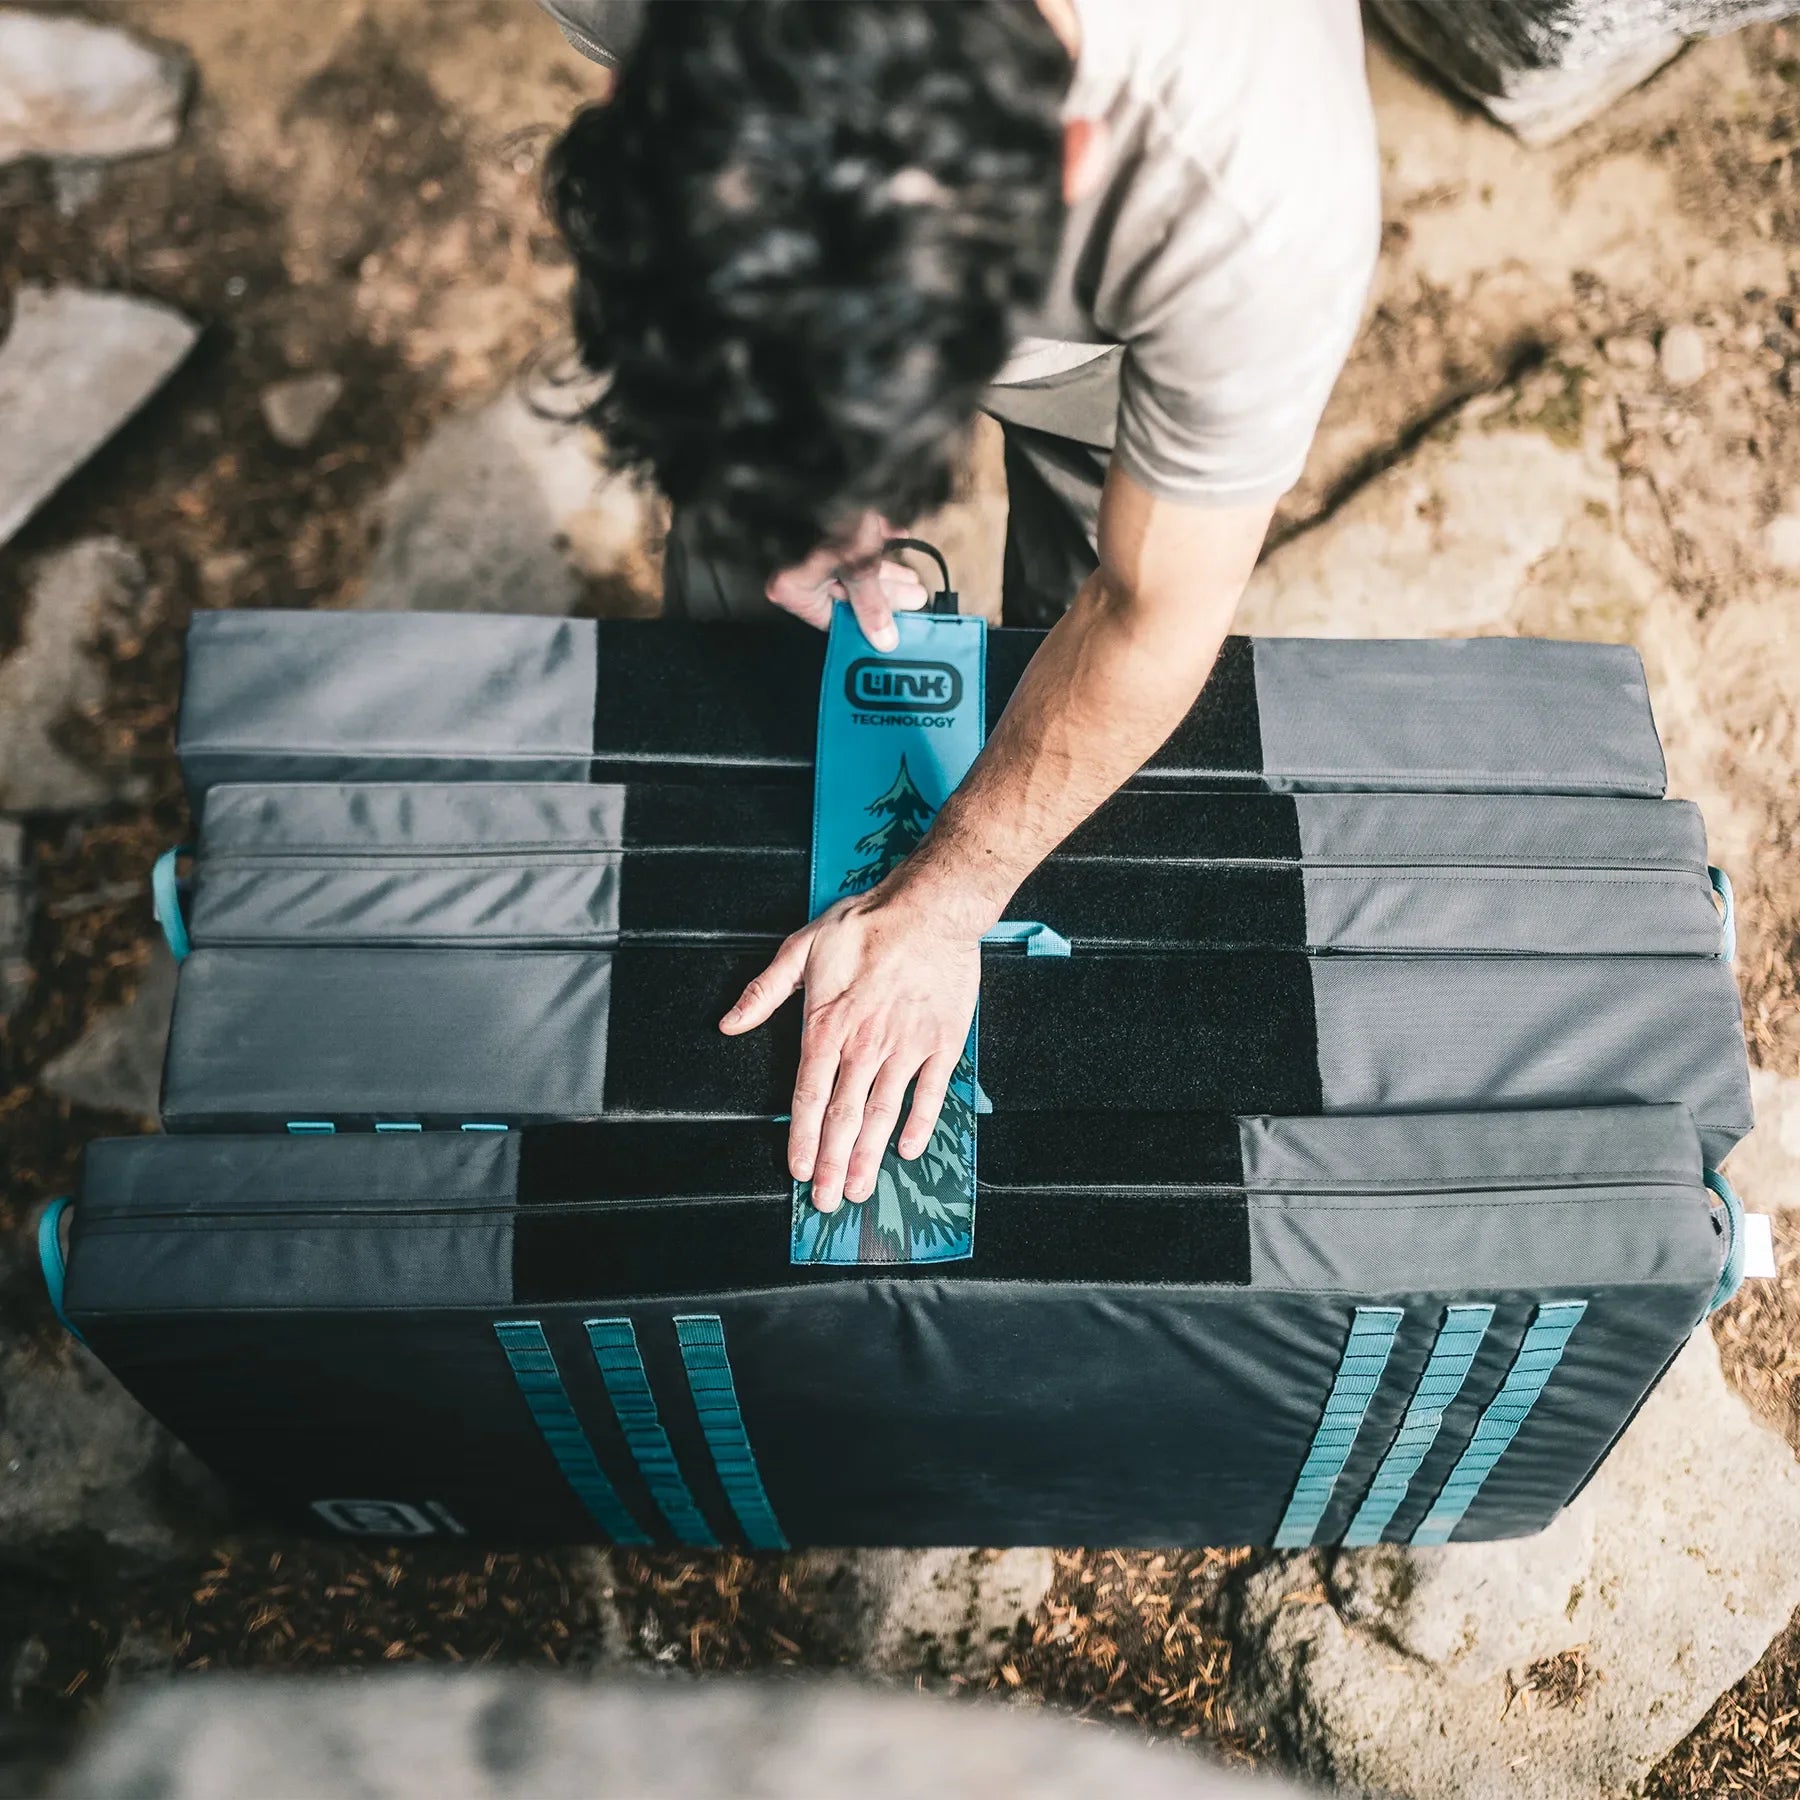
3. Borrow or Rent Crashpads
Buying a crash pad for your first outdoor bouldering trip is unnecessary, as it can be a significant financial investment. Instead, ask around in the gym if anyone is willing to let you borrow theirs. Some climbing gyms or outdoor gear stores will also offer rental options, enabling you to pay a small fee to use a crash pad for the day.
However, do not forgo crash pads. These are essential to your safety. Unlike indoor climbing, with permanently fixed landing pads, nature’s landing pads are rocks, sticks, and other objects waiting to claim their next sprained ankle or bruised tailbone. Ideally, you’ll have at least two crash pads, but more is always better. Choosing popular boulders can help as other climbers with crash pads will likely be there, allowing you to share and cover more ground. Remember, safety first!
4. The Non-climbing Essentials
An outdoor bouldering trip will take up more of your day than a trip to the gym. Even a relatively close-to-home-crag can end up as a whole-day excursion. It’s important to consider basic needs, including food, hydration, and bathroom breaks. Packing a combination of carbohydrate and protein fuel sources will satiate you and keep your energy levels high, while a combination of electrolyte drinks and water will keep you hydrated. Of course, nature will likely call, so pack a Wag Bag to clean up your #2s. Packing out what you bring in is good practice, so be mindful not to leave food wrappers, beverage cans, or toilet paper behind. If you plan to climb past sunset or there’s a chance it will become dark before you’ve made it back to your car, pack a headlamp for added safety.
5. Climbing Gear
You’ll want to pack a few additional pieces of gear aside from climbing shoes and chalk. These include a climbing brush, tape, and a portable hangboard. In a gym, it’s easy to take for granted the accessibility of a chalk brush as most facilities supply a communal collection. While a long stick brush like those available at a gym might be helpful, a good quality handheld brush will suit most outdoor bouldering needs and be more manageable to transport.
Climbing tape may already be a staple in your gym bag, but it’s a must for outdoor bouldering, where sharp rocks seek to split fingertips and claim layers of skin. Lastly, a portable hangboard is an excellent warmup tool. Again, it’s easy to take for granted the amenities that indoor climbing gyms offer, such as mounted hang boards and designated warmup areas. Purchasing or borrowing a portable hangboard, such as a Tension Block, Metollius Rail, or Lattice Rail, will help you warm up at the crag and prevent injuries.
Outdoor Bouldering Checklist
Use this checklist to ensure you have all the essentials for a successful bouldering session. Although it might seem like a long list, most items are small and can be packed easily into a backpack. Packing everything on this list will guarantee that you are prepared for any situation, whether it involves split fingertips, greasy holds, or nature’s call.
● Downloaded directions to the crag/boulder or an offline map
● Crash pad(s)
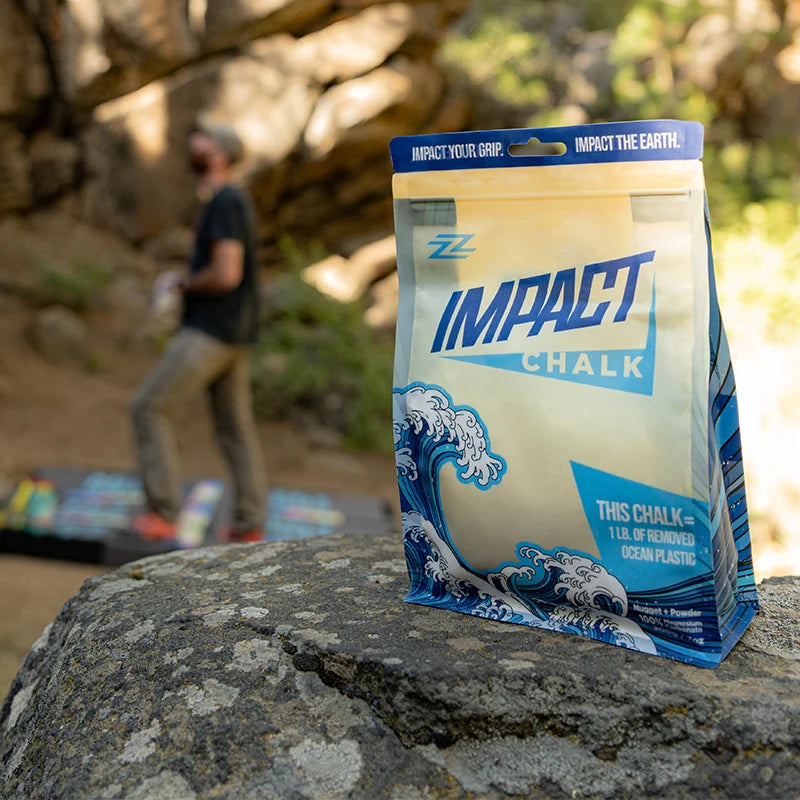
● Chalk
● Climbing shoes
● Towel
● Food
● Water
● TP and/or wag bag
● Layered clothing
● Climbing tape
● Chalk brush
● Portable hangboard
● Headlamp
You’ve made it to the end of outdoor bouldering cliff notes 101. Using the information and final checklist, you are set to have an enjoyable experience bouldering outside for the first time. Don’t worry if you forget something on the list (other than a crash pad), as that’s all part of the learning curve. We've all been there! One final warning: once you dip your toes in and pull on real rock, you may become more addicted to climbing than ever before. Comment below with any questions, advice, or thoughts you’d like to share. Happy bouldering!