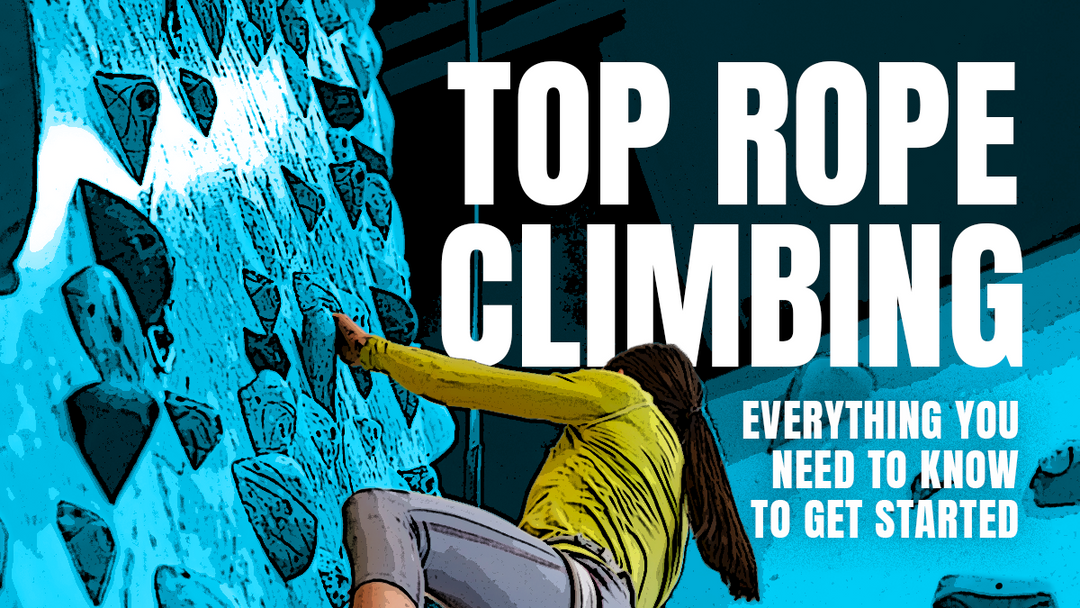


Top Rope Climbing 101: Everything You Need to Know to Get Started

Top-rope climbing, a popular choice for recreational climbers, offers a safer alternative to lead climbing. To embark on this journey, it's crucial to grasp the fundamental mechanics, gear requirements, and the pivotal step of obtaining top-rope certification in a climbing gym. You're in the right place, as we’ve dissected everything you need to know to kickstart your top-rope climbing adventure.
Top Rope Climbing 101 Guide:
1. Top Rope Mechanics
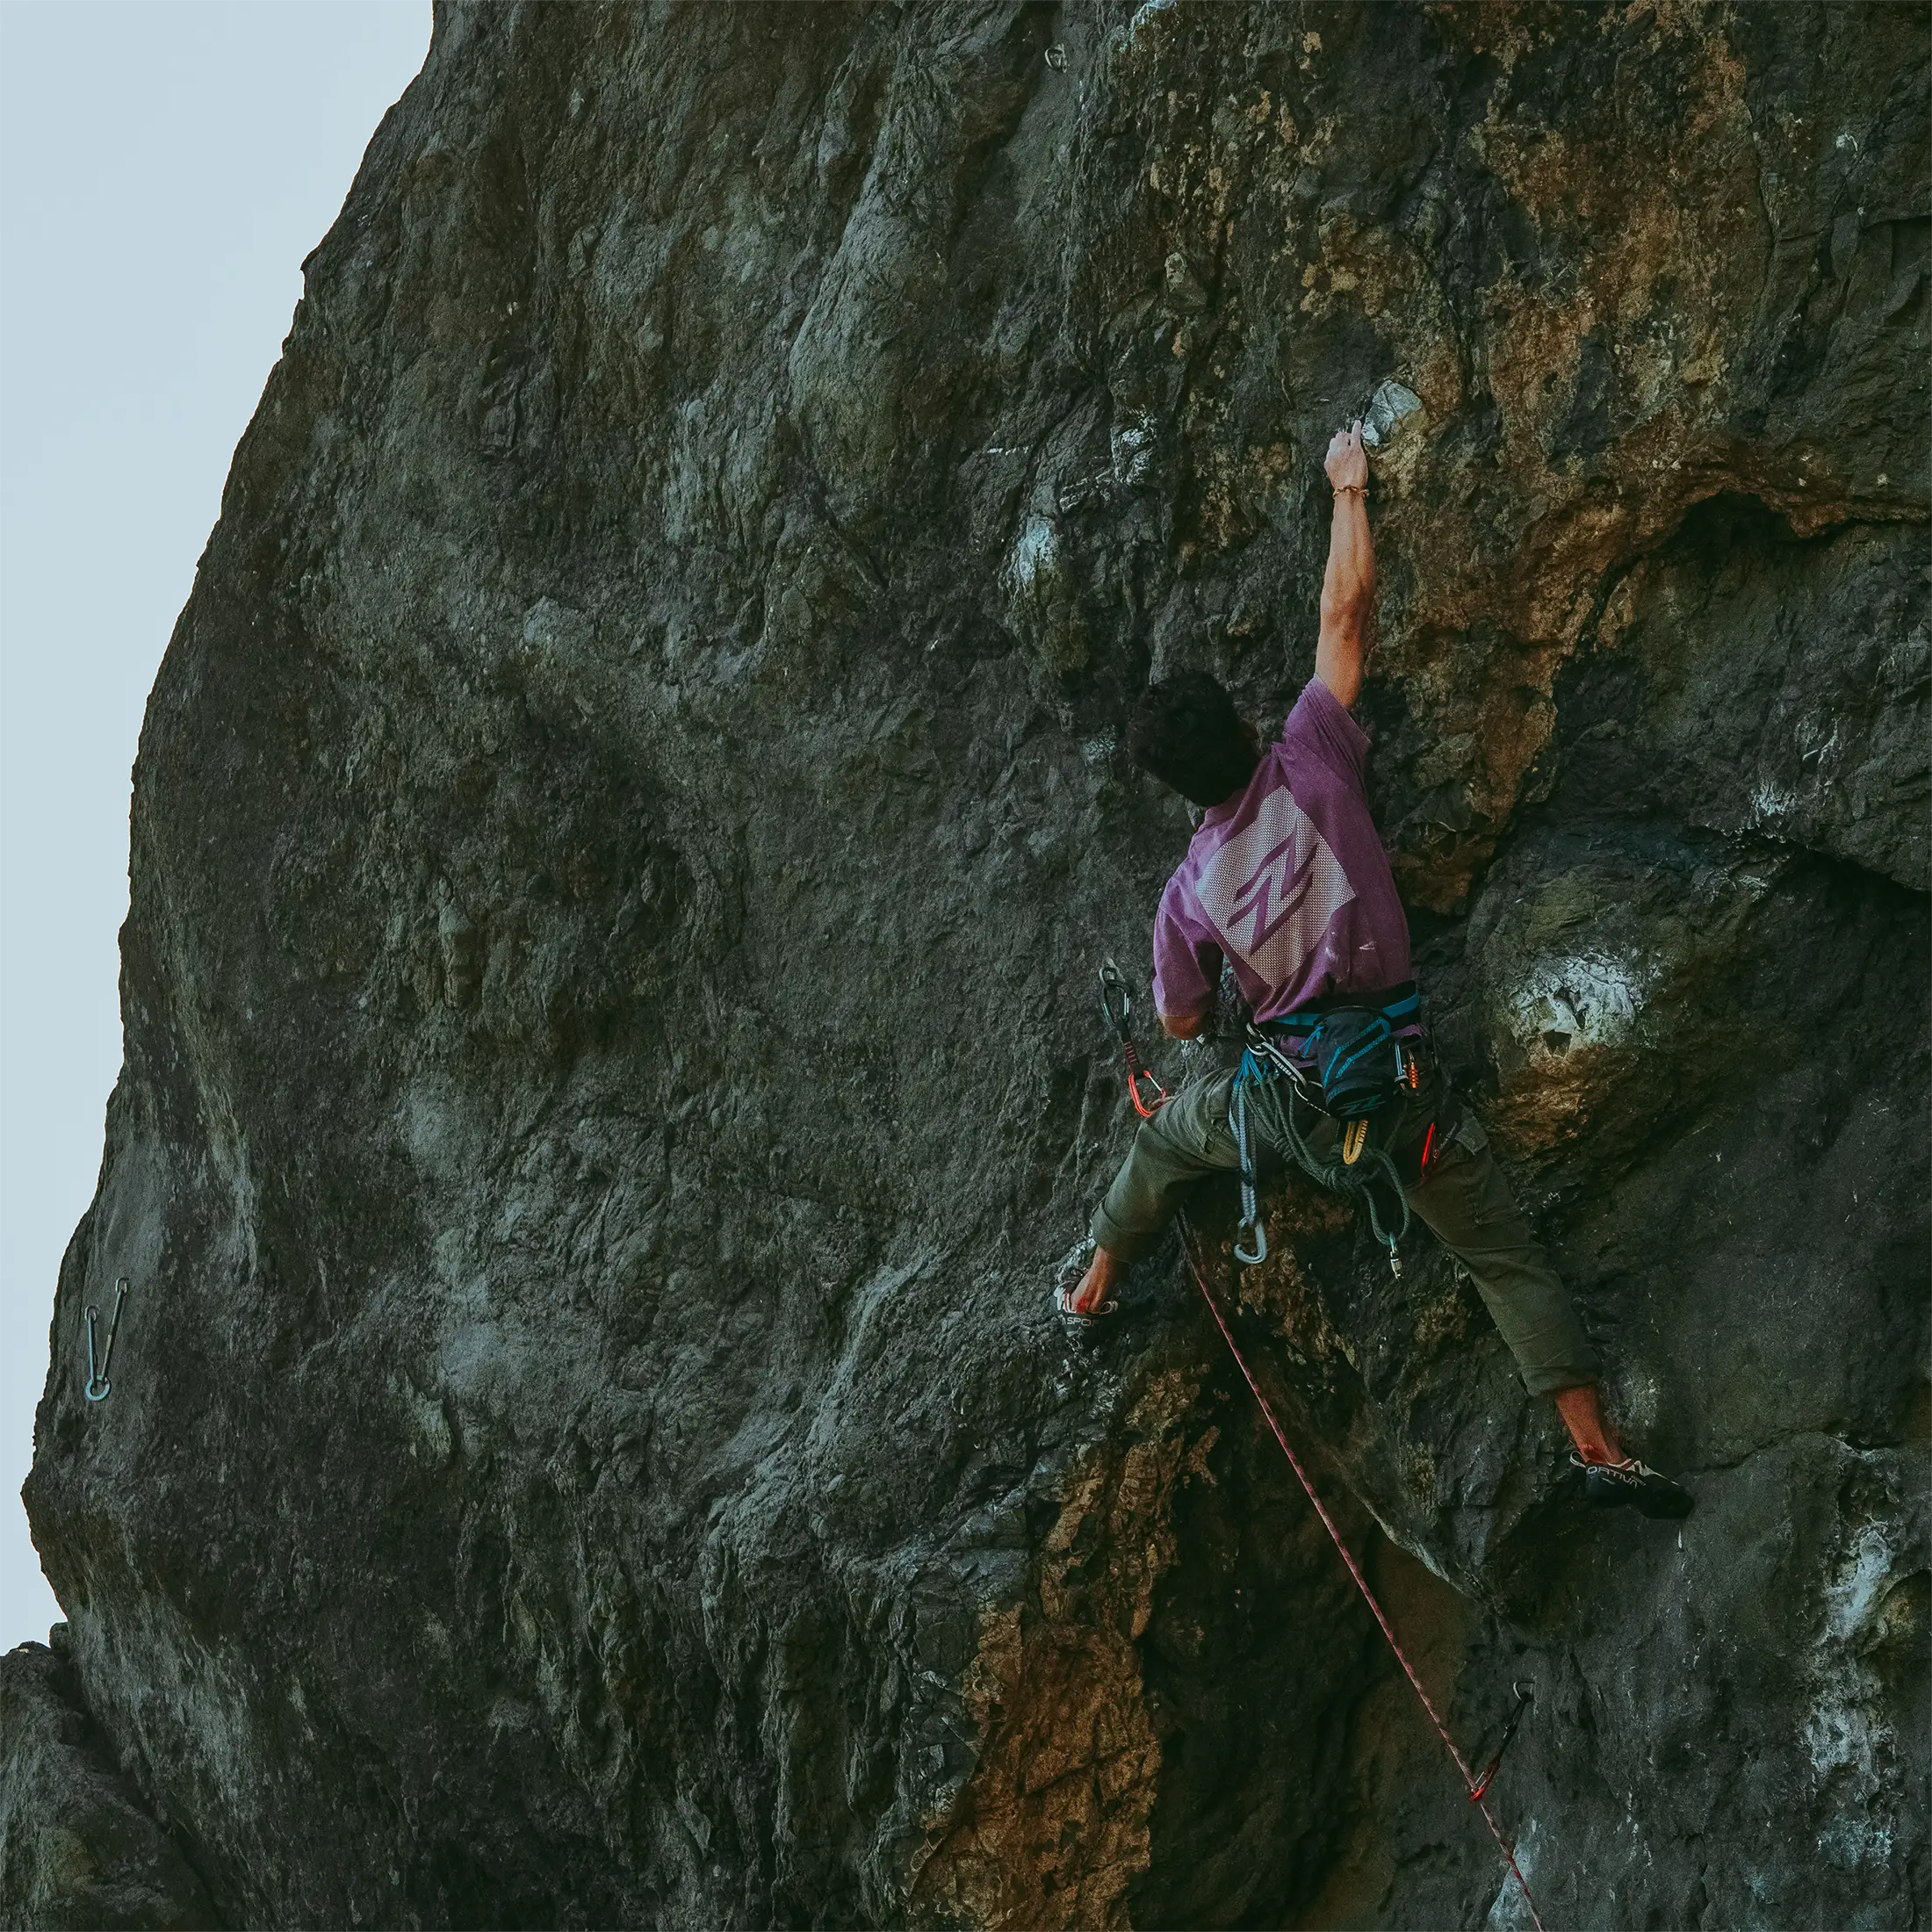
● Rope Placement: The name top-rope climbing comes from the placement of the rope. An anchor fixes the rope at the top of the wall with the two ends extending to the ground. Indoors, the rope is typically double-wrapped around the anchor to create more friction and offset possible weight differences between the belayer and climber.
● Belay Technique: As the climber advances up the wall, the belayer takes up the slack. In other words, the climber's end of the rope should be kept tight so that their safety knot remains level with their waist and the rope does not sag into a "U" shape.
● How to Secure the Climber: There are two ends of the rope to select from when preparing to climb. The climber ties into the side of the rope closest to the wall. Ensure the ropes aren't twisted by looking at the anchor. Once you've selected the correct end of the rope, the climber secures themselves with a follow-through figure 8 knot and a finishing knot (whether a finishing knot is required depends on the gym). We'll cover these knots more in the How to Get Top-Rope Certified section.
● How to Set Up on Belay: The belayer will feed the rope into their belay device so the rope extending from the top runs up to the top of the wall. The brake end is the rope coming out of the bottom of the device, which leads to the rope's end on the ground.
2. Gear Requirements
● Belay Device (usually): To top-rope, you or your belayer will need a belay device. The exception is that some indoor facilities may be available to rent or set up at each top-rope station. GriGris and ATCs are the most widely used and approved devices, but there are other options you can consider depending on your preference and the gym’s rules.
● Climbing Shoes: If you have experience bouldering, you know that climbing shoes will significantly impact your climbing ability. The rubber soles and form-fitting design increase security and comfort on small or sloping footholds.
● Harness: Unlike bouldering, where shoes and chalk will suffice, a harness is critical to ensure a climber’s safety while top-roping.
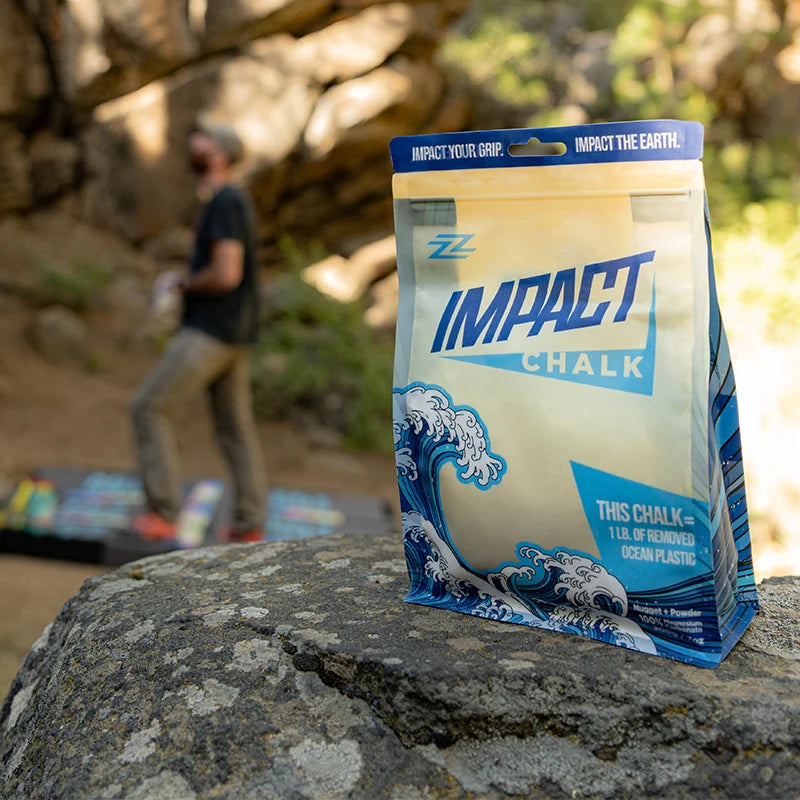
● Chalk Bag: Climbing companies sell chalk bags and buckets. The former is ideal for top-rope climbing. They are small and lightweight in design, and they can clip around your waist. As you climb the wall, you can easily reach one hand back at a time to “chalk up.”

3. How To Get Top-Rope Certified
● Know Your Knots: The first step to top-rope climbing is safely securing yourself into the rope using the Figure 8 follow-through and a finishing knot. The Figure 8 follow-through is always required and is a self-tightening knot, which means it is safe to climb on without additional knots. Climbing gyms usually require an additional finishing knot, such as the double fisherman's. A finishing knot doesn't provide added safety, but rather, it prevents the rope's end from interfering with the climber's progress or other safety mechanics. You must know how to tie both knots and explain how you know they are correct during a top-rope belay test.
● Know How to Put Your Harness on Properly: Knowing your knots is only helpful if you've properly secured your harness, as it is the tether between you and the rope. Ensure each of the following:
○ Your harness is double-backed (through the two buckles and then back over one)
○ The waist is fastened securely over your hips (if you slide two fingers between your body and the harness and twist them, your fingers cross)
○ The leg loop straps of the harness aren't twisted.
● Know How to Set Up Your Belay Device: Ensure you can explain how you know you've correctly set up the belay device. Commonly accepted belay devices for top rope tests are an ATC or GriGri. Your explanation should include a basic description of the device's mechanics (i.e., ATC is a friction plate device, a GriGri is an assisted-braking device that uses a cam).
● Know Belay Commands: Before you begin top-roping, it is essential to communicate with your belayer. The standard communication language is listed below. However, any variation that demonstrates you and your belayer have checked the climber's knot and belay device are correct and that both parties are ready is generally accepted.
○ Climber: "On belay?"
○ Belayer: "Belay on"
○ Climber: "Climbing"
○ Belayer: "Climb on"
Other commands used once the climber has begun their ascent include "Slack," "Take," "Ready to lower," "Lowering," and "Off belay."
Top-rope climbing can be a fun and rewarding version of climbing, especially when you have the proper gear, understand the mechanics, and earn your certification. Remember, safety is the number one priority. Don't be discouraged if it's challenging at first or if it takes more than one attempt to pass the certification test. With time and practice, it'll start to become second nature, and you'll find yourself reaching the anchors. We're here to support you every step of the way, and you're part of a community of climbers who are always ready to help. Comment below if you found this information helpful or have any questions!